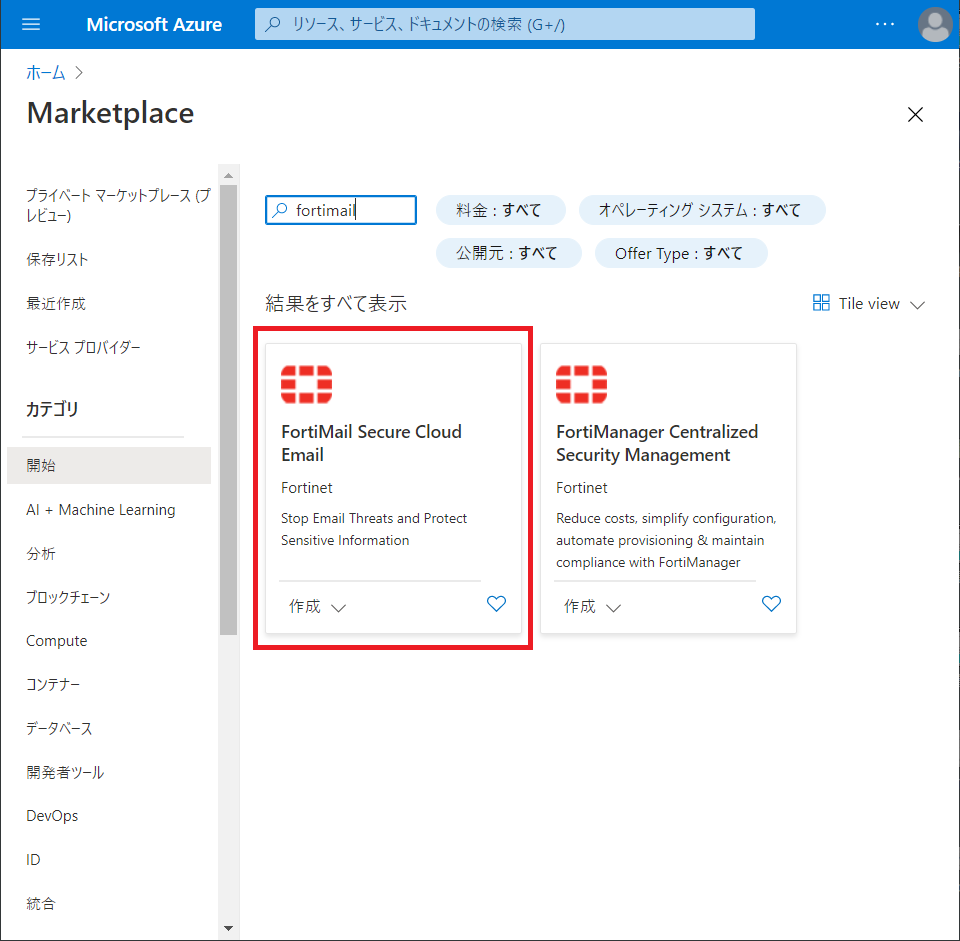
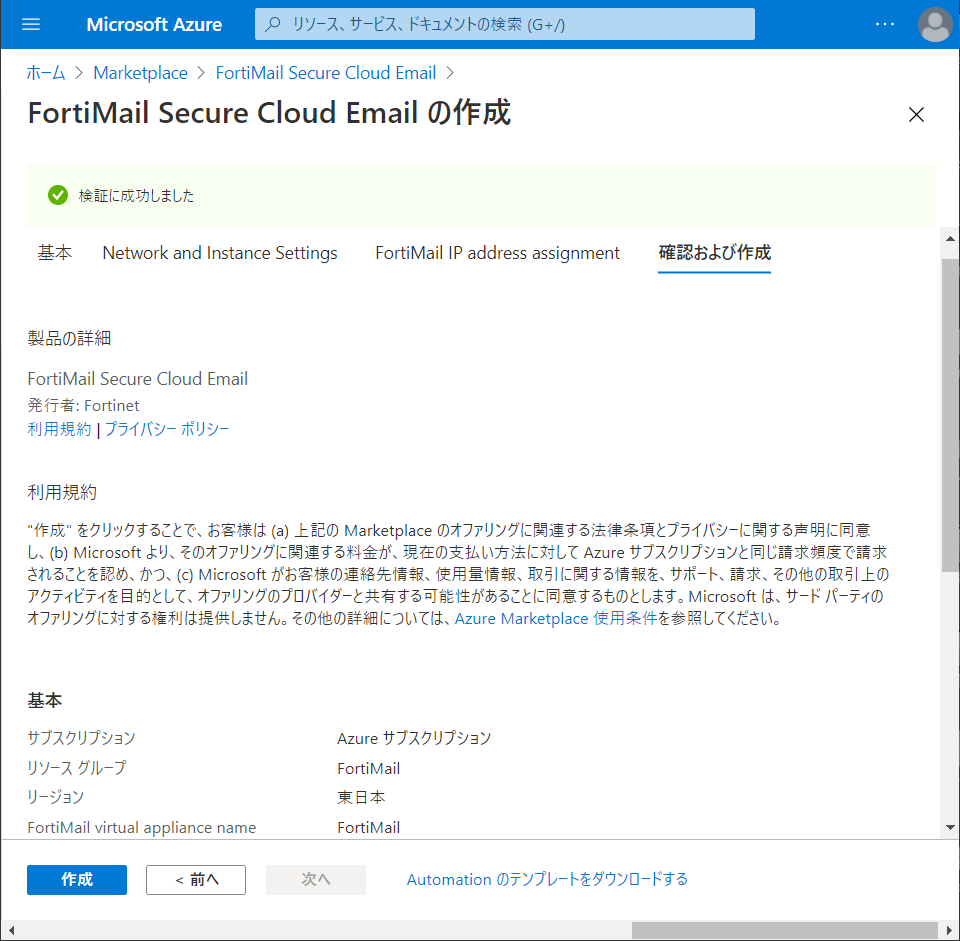
AzureマーケットプレイスにFortiMail-VMがあったので構築してみました。
しかし、ライセンス認証しないと何もできませんでした。
はじめに
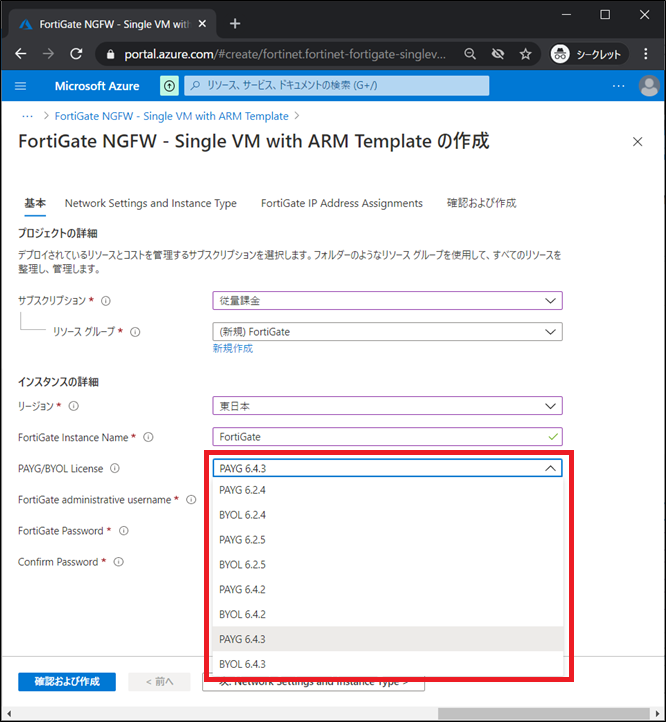
AzureマーケットプレイスにFortiMail-VMがあったので構築してみました。
VMware版のFortiMail-VMだと、一部機能の制限はあるけど(たしか)30日間は試用できるのですが、AzureのFortiMail-VMは試用期間切れの状態でほとんど操作ができませんでした(CUIから設定しようと思えばできるかもしれないけど…)。ライセンス購入してライセンス認証しないと使えないみたいです。
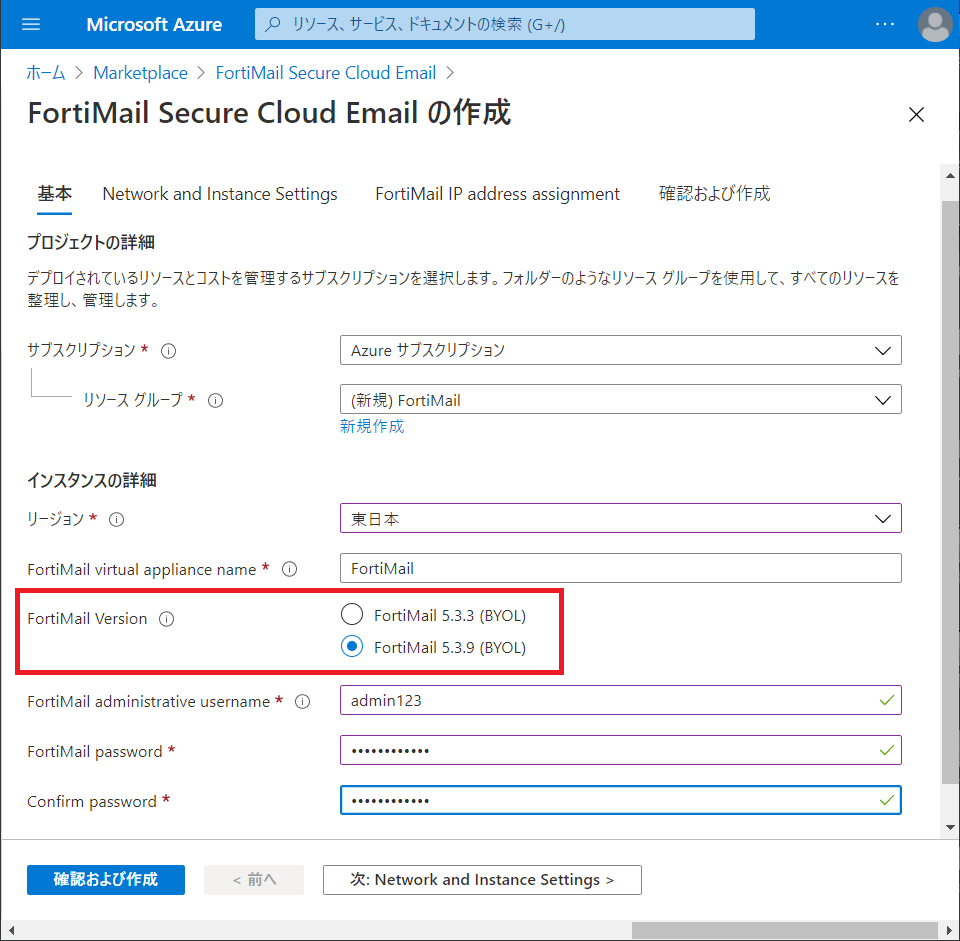
あと、2020年12月時点のFortiMailの最新がv6.4.3なのに、AzureマーケットプレイスのFortiMail-VMはv5.3.3/v5.3.9とかなり古くFortinetも力を入れてなさそうです。
とは言え、構築してみたので構築手順と仮想マシンのリソースを自分用にメモします。
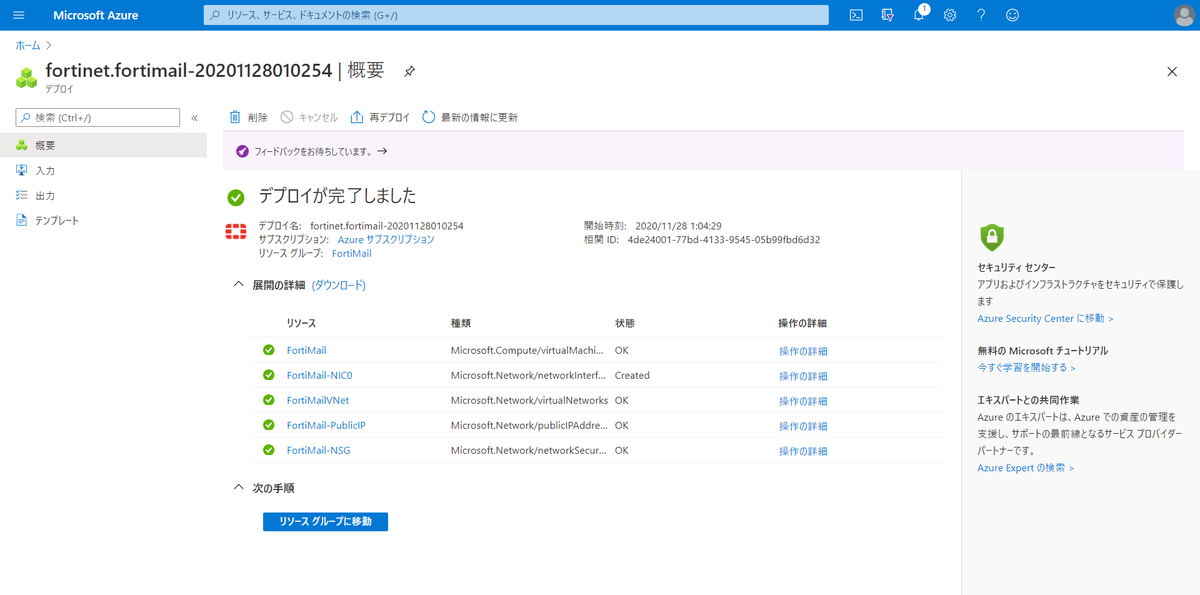
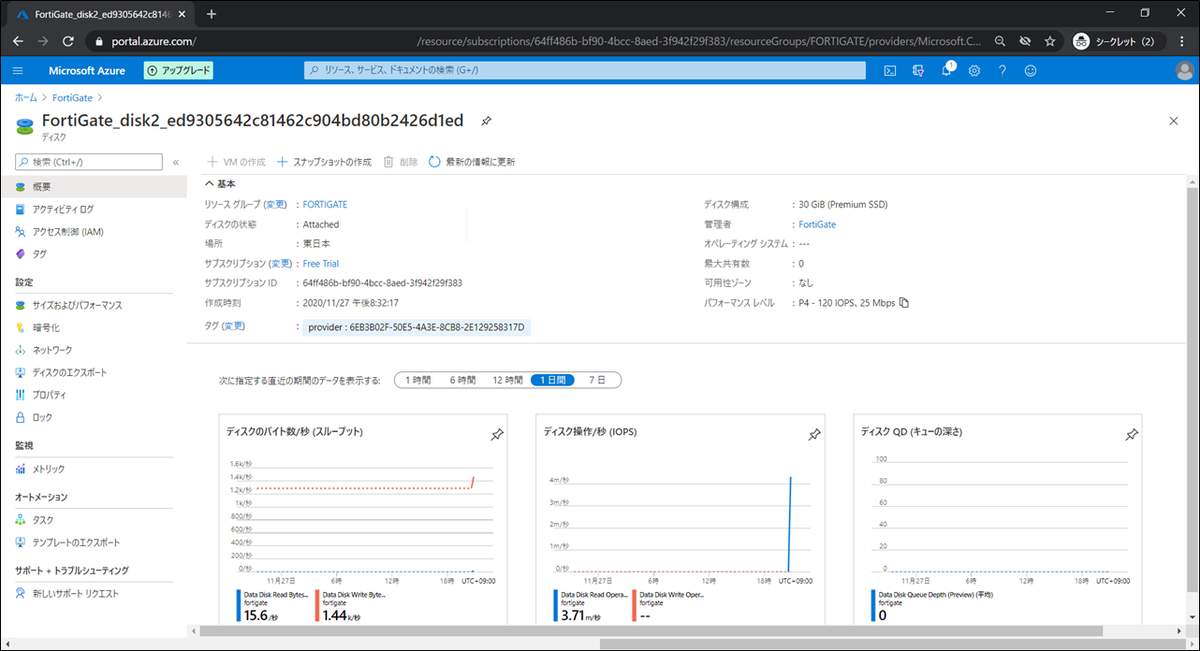
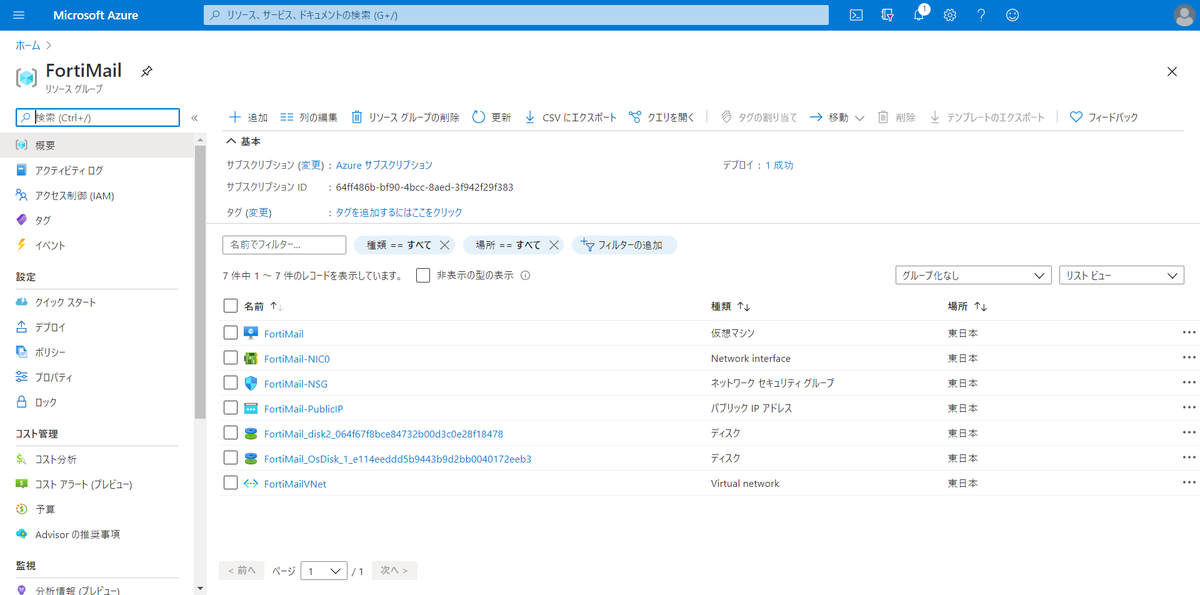
リソース
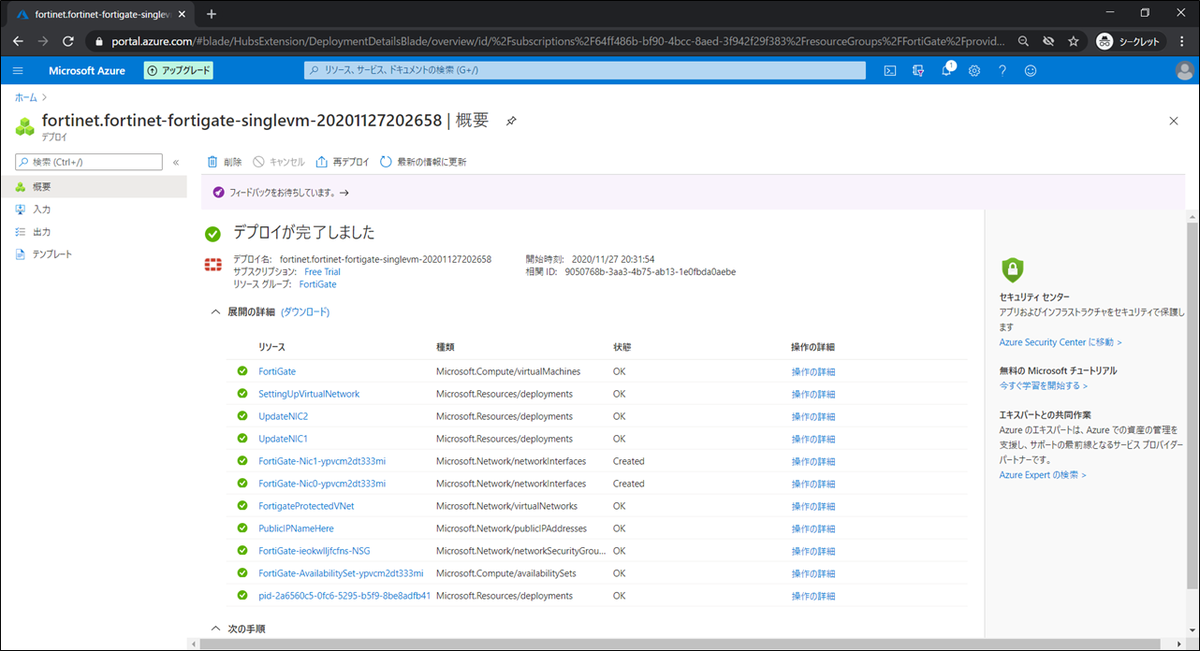
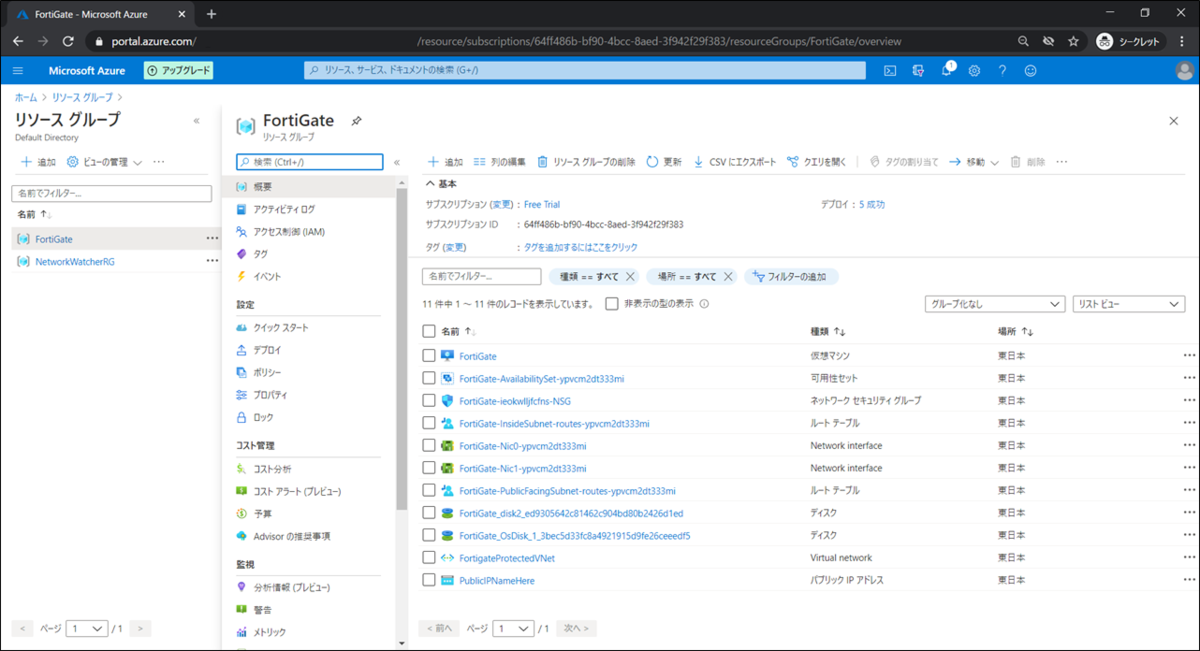
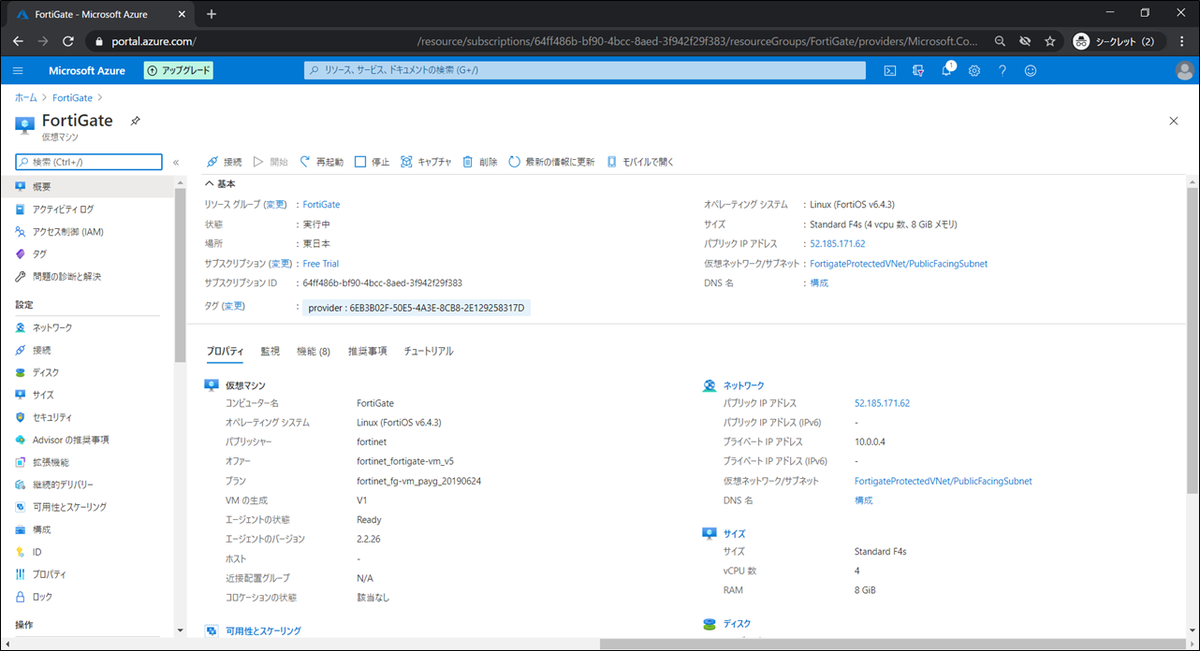
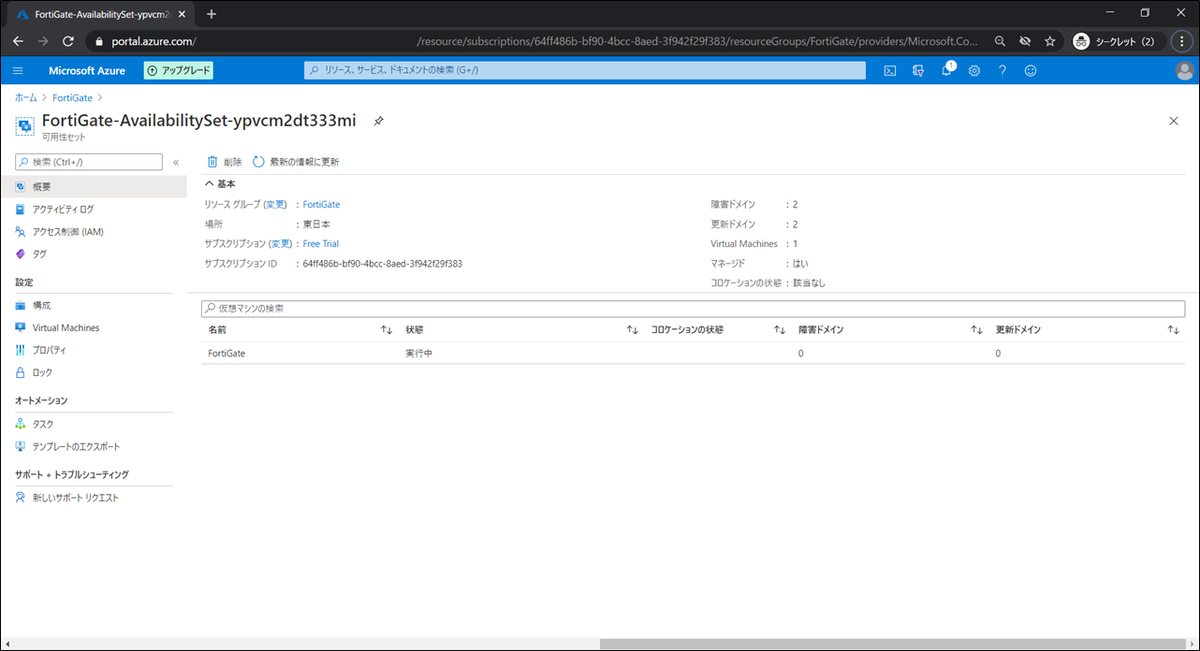
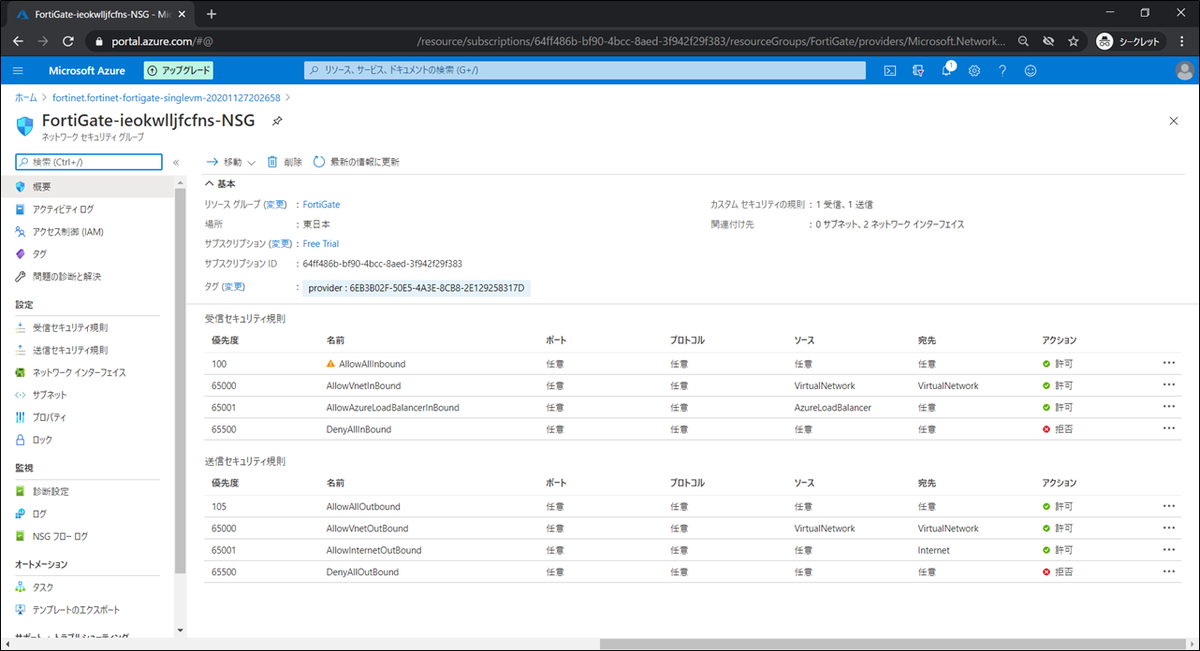
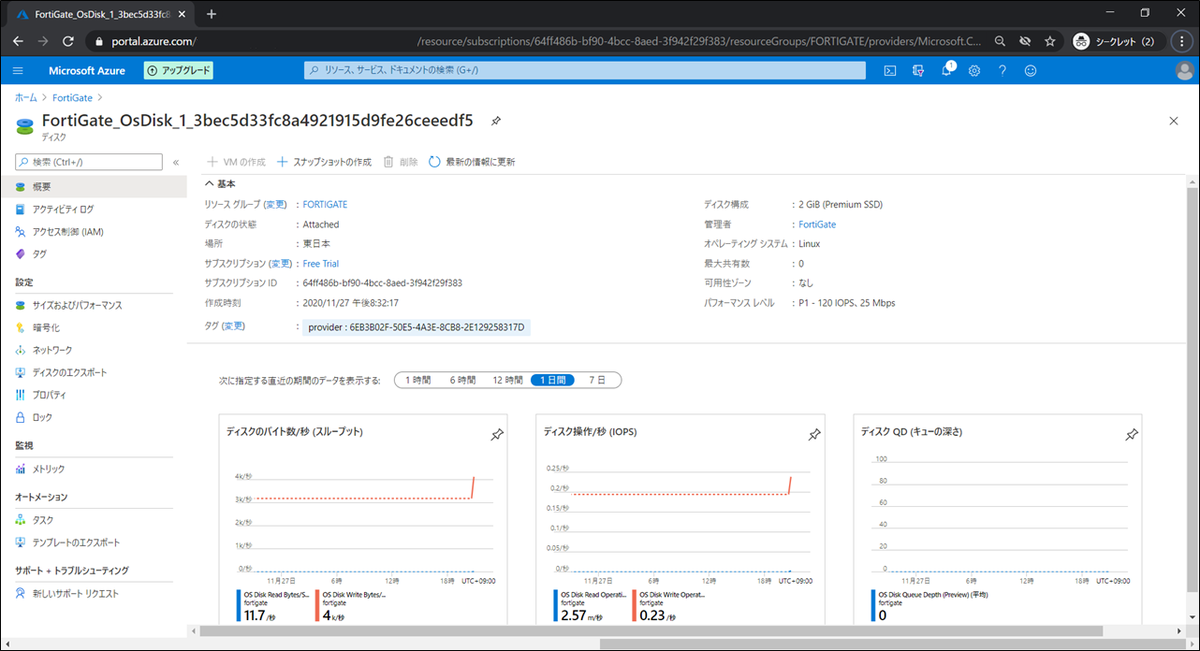
作成されたリソースを眺めます。
ディスクとNSG以外は特記事項はありません。

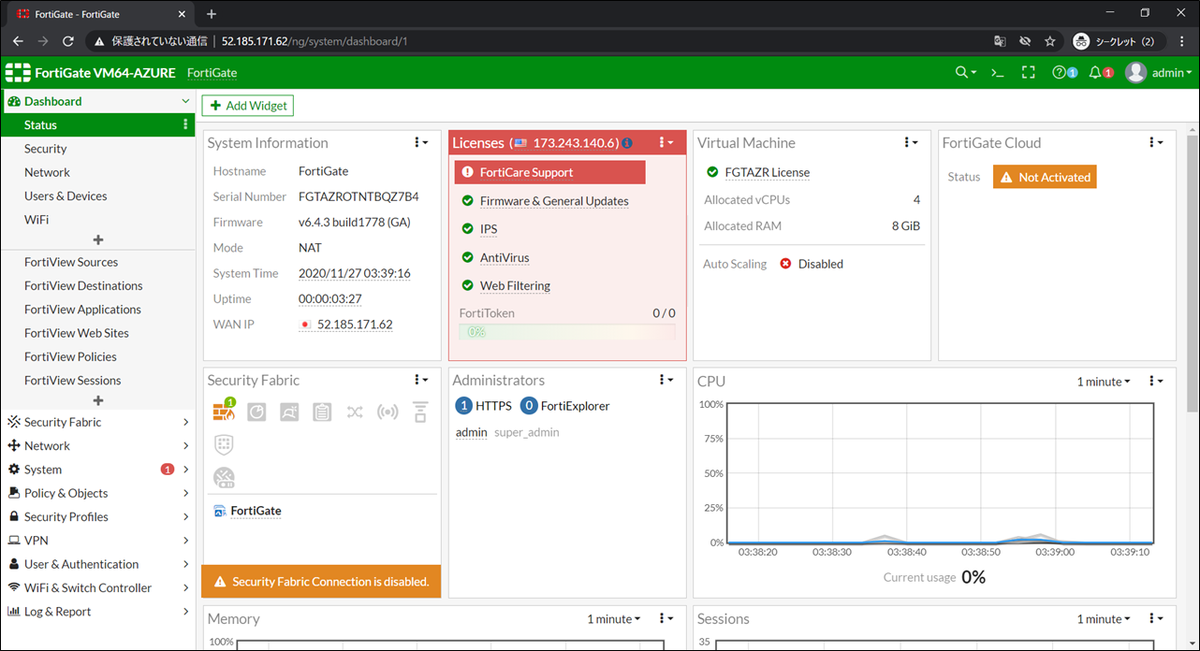
動作確認
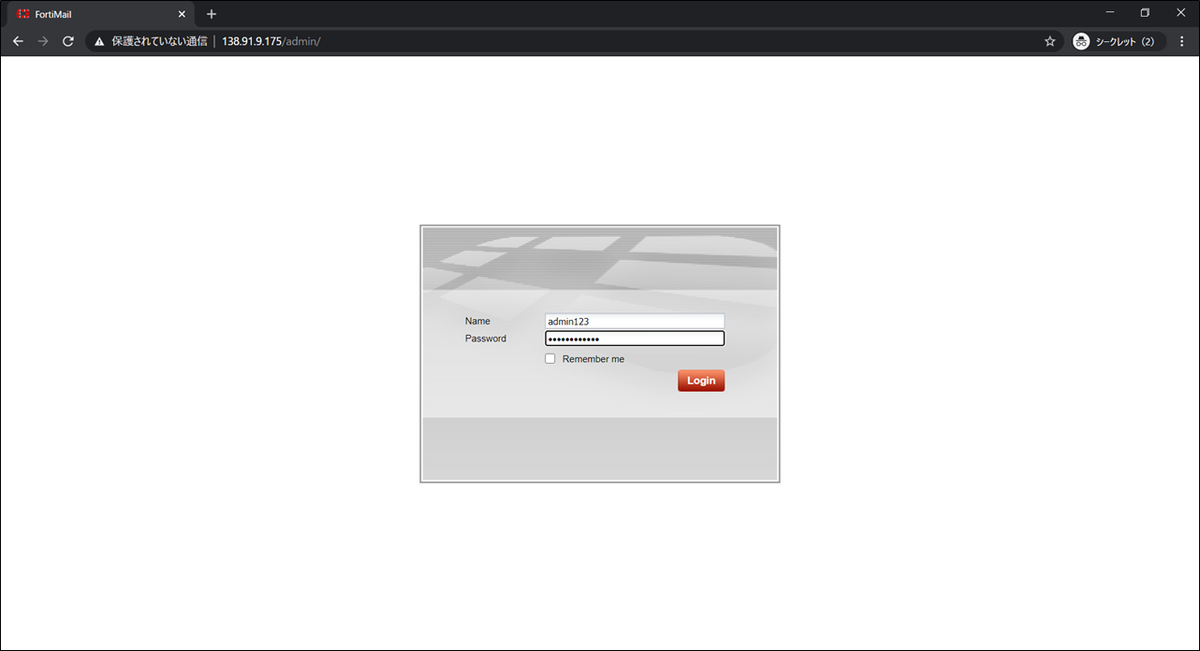
Web管理画面
https://[パブリックIP]/adminで接続します。
システムステータス
ライセンス切れ状態でメニューがほとんど表示されていません。

FortiMail # get system status
Version:            FortiMail-VM-Azure v5.3,build634,170228 (5.3.9 GA)
Architecture:       64-bit
Virus-DB:           1.00234(2012-09-20 09:57)
VM Registration:    Invalid: License has been detected as invalid, please upload a new license.
VM License File:    Allowed CPU/Memory has been exceeded.
VM Resources:       2 CPU/1 allowed, 3953 MB RAM/2048 MB allowed, 1022 GB Disk/1024 GB allowed
AntiSpam-DB:        1.00001(2007-05-09 17:15)
Serial-Number:      FEVM00UNLICENSED
BIOS version:       n/a
Log disk:           Capacity 204 GB, Used 32 MB ( 0.02%), Free 204 GB
Mailbox disk:       Capacity 816 GB, Used 250 MB ( 0.03%) , Free 816 GB
Hostname:           FortiMail
Operation mode:     Gateway
HA configured mode: Off
HA effective mode:  Off
FIPS-CC status:     disabled
Strong-crypto:      disabled
Distribution:       International
Branch point:       634
Uptime:             0 days  0 hours  20 minutes
Last reboot:        Fri Nov 27 08:05:08 PST 2020
System time:        Fri Nov 27 08:25:37 PST 2020
AVエンジン/シグネチャバージョン

FortiMail # diag autoupdate versions
System Time:  2020-11-27 08:32:47 PST (Uptime: 0d 0h 27m)
AV Engine
---------
Version: 5.00234
Contract Expiry Date: n/a
Last Updated using manual update on Fri Apr  1 11:40:00 2016
Last Update Attempt: n/a
Result: Updates Installed

Virus Definitions
---------
Version: 1.00234
Contract Expiry Date: n/a
Last Updated using manual update on Thu Sep 20 10:57:00 2012
Last Update Attempt: n/a
Result: Updates Installed

Extended set
---------
Version: 1.00001
Contract Expiry Date: n/a
Last Updated using manual update on Mon Jan  1 00:00:00 2001
Last Update Attempt: n/a
Result: Updates Installed

AS Rule Set
---------
Version: 1.00001
Contract Expiry Date: n/a
Last Updated using manual update on Wed May  9 17:15:00 2007
Last Update Attempt: n/a
Result: Updates Installed
 heuristic init flag 1
antispam obj 0 version 4.00001(2011-11-29 02:22) cardinals 1
antispam obj 1 version 4.00001(2011-11-29 02:22) cardinals 1
antispam obj 2 version 4.00001(2011-11-29 02:22) cardinals 1
antispam obj 3 version 4.00001(2011-11-29 02:22) cardinals 1
antispam obj 4 version 4.00001(2011-11-29 02:22) cardinals 1
antispam obj 5 version 4.00001(2011-11-29 02:22) cardinals 1
heuristic rule release date 1.1 2007-5-9(17:15)
heuristic rule version 2 decision tree version 21

FDS Address
---------
ハードウェア構成
CPU、メモリ、ディスクをコマンドで出力する。
CPU
FortiMail # diag hardware sysinfo cpu
System Time:  2020-11-27 08:43:14 PST (Uptime: 0d 0h 38m)
processor       : 0
vendor_id       : GenuineIntel
cpu family      : 6
model           : 85
model name      : Intel(R) Xeon(R) Platinum 8168 CPU @ 2.70GHz
stepping        : 4
microcode       : 0xffffffff
cpu MHz         : 2693.635
cache size      : 33792 KB
physical id     : 0
siblings        : 2
core id         : 0
cpu cores       : 1
apicid          : 0
initial apicid  : 0
fpu             : yes
fpu_exception   : yes
cpuid level     : 21
wp              : yes
flags           : fpu vme de pse tsc msr pae mce cx8 apic sep mtrr pge mca cmov pat pse36 clflush mmx fxsr sse sse2 ss ht syscall nx pdpe1gb rdtscp lm constant_tsc rep_good nopl xtopology eagerfpu pni pclmulqdq vmx ssse3 fma cx16 pcid sse4_1 sse4_2 movbe popcnt aes xsave avx f16c rdrand hypervisor lahf_lm abm 3dnowprefetch tpr_shadow vnmi ept vpid fsgsbase bmi1 hle avx2 smep bmi2 erms invpcid rtm mpx avx512f rdseed adx smap clflushopt avx512cd xsaveopt xsavec
bugs            :
bogomips        : 5387.27
clflush size    : 64
cache_alignment : 64
address sizes   : 46 bits physical, 48 bits virtual
power management:

processor       : 1
vendor_id       : GenuineIntel
cpu family      : 6
model           : 85
model name      : Intel(R) Xeon(R) Platinum 8168 CPU @ 2.70GHz
stepping        : 4
microcode       : 0xffffffff
cpu MHz         : 2693.635
cache size      : 33792 KB
physical id     : 0
siblings        : 2
core id         : 0
cpu cores       : 1
apicid          : 1
initial apicid  : 1
fpu             : yes
fpu_exception   : yes
cpuid level     : 21
wp              : yes
flags           : fpu vme de pse tsc msr pae mce cx8 apic sep mtrr pge mca cmov pat pse36 clflush mmx fxsr sse sse2 ss ht syscall nx pdpe1gb rdtscp lm constant_tsc rep_good nopl xtopology eagerfpu pni pclmulqdq vmx ssse3 fma cx16 pcid sse4_1 sse4_2 movbe popcnt aes xsave avx f16c rdrand hypervisor lahf_lm abm 3dnowprefetch tpr_shadow vnmi ept vpid fsgsbase bmi1 hle avx2 smep bmi2 erms invpcid rtm mpx avx512f rdseed adx smap clflushopt avx512cd xsaveopt xsavec
bugs            :
bogomips        : 5387.27
clflush size    : 64
cache_alignment : 64
address sizes   : 46 bits physical, 48 bits virtual
power management:
メモリ
FortiMail # diag hardware sysinfo memory
System Time:  2020-11-27 08:44:51 PST (Uptime: 0d 0h 39m)
MemTotal:        4048764 kB
MemFree:         3220820 kB
MemAvailable:    3372900 kB
Buffers:           19512 kB
Cached:           454124 kB
SwapCached:            0 kB
Active:           469400 kB
Inactive:         248612 kB
Active(anon):     349556 kB
Inactive(anon):    94852 kB
Active(file):     119844 kB
Inactive(file):   153760 kB
Unevictable:           0 kB
Mlocked:               0 kB
SwapTotal:       2093052 kB
SwapFree:        2093052 kB
Dirty:                 8 kB
Writeback:             0 kB
AnonPages:        244364 kB
Mapped:            88844 kB
Shmem:            200044 kB
Slab:              30236 kB
SReclaimable:      12916 kB
SUnreclaim:        17320 kB
KernelStack:        3920 kB
PageTables:        25336 kB
NFS_Unstable:          0 kB
Bounce:                0 kB
WritebackTmp:          0 kB
CommitLimit:     4117432 kB
Committed_AS:    1793880 kB
VmallocTotal:   34359738367 kB
VmallocUsed:       35556 kB
VmallocChunk:   34359663339 kB
DirectMap4k:       12224 kB
DirectMap2M:     1036288 kB
DirectMap1G:     5242880 kB
ディスク
FortiMail # diag hardware sysinfo df
System Time:  2020-11-27 08:45:09 PST (Uptime: 0d 0h 40m)
Filesystem            Size  Used Avail Use% Mounted on
none                     0     0     0   -  /proc
none                     0     0     0   -  /sys
none                     0     0     0   -  /dev/pts
none                   10M  548K  9.5M   6% /dev/shm
none                  100M  2.2M   98M   3% /dev/cmdb
/dev/sda1             277M   85M  192M  31% /data
/dev/vga/vga2         205G   33M  205G   1% /var/log
/dev/vga/vga3         817G  250M  817G   1% /var/spool